
Örreke and Let’s go to Zero! exhibition invited Relumee and a few friends to come over and try out how to make ‘real’ soap.
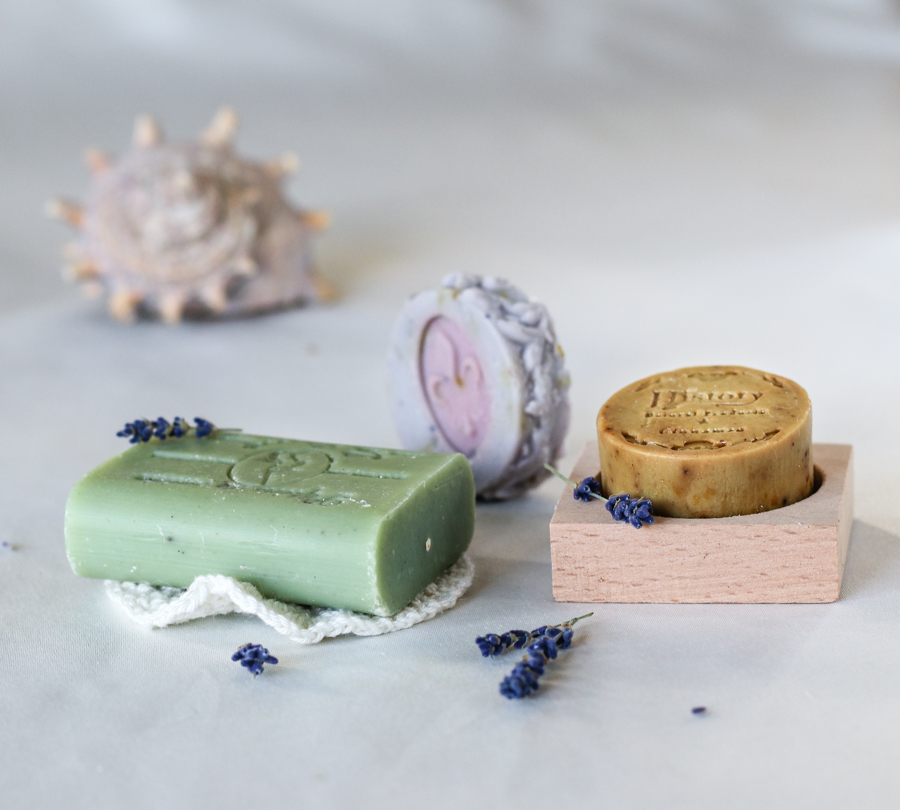
Let’s make a traditional soap!
author: Katarina Papp, Let’s go to Zero!
Usually, I have made my soap from a ready-made soap mix, simply because I already know how to make it and it is very quick. This time, however, we made the soap from scratch under the guidance of Örreke’s partner Relumee. And now, Örreke is also offering a workshop on how to make soap. The process of making such soap is definitely much longer and more thorough than with ready-made soap, but the result is worth it!
Why make your own soap at all?
“It’s a common question I ask children in the Örreke soap workshop. Usually, the first answer is “because it’s free”. So, I always explain to the kids that it’s not really free, and that good quality homemade soap can also be more expensive than regular shop soap.
I make my own soap for three reasons:
- You have to be very careful with shop soaps and other cosmetics, so you don’t get any chemicals on yourself. Check out the ingredients to avoid in cosmetics here.
- Reducing waste. By making my own soap, I can avoid packaging.
- However, if you make your own quality soap at home, it will probably be cheaper than buying handmade soap.
But as I said, making your own soap from scratch is quite an undertaking and requires a lot more knowledge than just making soap from a ready-made bar of soap. So, the first time you do it, I’d definitely recommend calling in someone more knowledgeable.
Soap with soapstone
We made soap with soapstone and cold process. You have to be careful with soapstone because it has a corrosive effect if it gets on your skin or if you inhale its vapour. So, gloves on and masks on. To be honest, it’s a perfect corona workshop:)))
Hopefully you’re not worried about washing with soap that contains corrosive substances! Namely, the soap will be ready to use after 1-2 months and by that time the soapstone will have neutralised and won’t be dangerous in any way.
Making the soapstone solution was quite interesting because after mixing the soapstone and water, the solution became very hot after a while. So it was an exciting chemical reaction:) Be sure to wait until the solution cools down before mixing it with the fats.
Be precise when weighing!
While when making all kinds of creams, ointments, lip balms, it is not so important that all the ingredients are measured to the gram, you need a precise hand when making soap. The ratio of ingredients is also important. Maybe it doesn’t work here that if I put a little more of one fat, I put a little less of the other.
Melting and blending fats
We made two kinds of soap. One recipe was with shea butter and the other with cocoa butter. In both, coconut oil was added. We melted the fats at a low temperature and mixed them into the cooled soap solution. Then you have to mix with a whisk until when you lift the mixer out the mixer trail remains in the mixture. Do not mix until too thick, as this will make it difficult to pour the mixture into the moulds. Once the mixture has the right thickness, you can add various dried herbs, clay, etc., and add scents. The final step is to pour the mixture into the moulds. All kinds of yoghurt pots, salad tins, etc. can be used as moulds.
Waiting
That’s the hardest part, because you have to wait about a month. But the older the soap, the better. Young soap wears off faster and can even go flat. Since we are still waiting for our soaps to be finished, we can’t share any experience yet, but expectations are high. 🙂
Do it yourself too!
If soap making sounds exciting to you too, the Relumee website has lots of tutorials and recipes. You can also get all the ingredients there. If you want to book an on-site soap making workshop, invite Örreke’s family soap workshop.